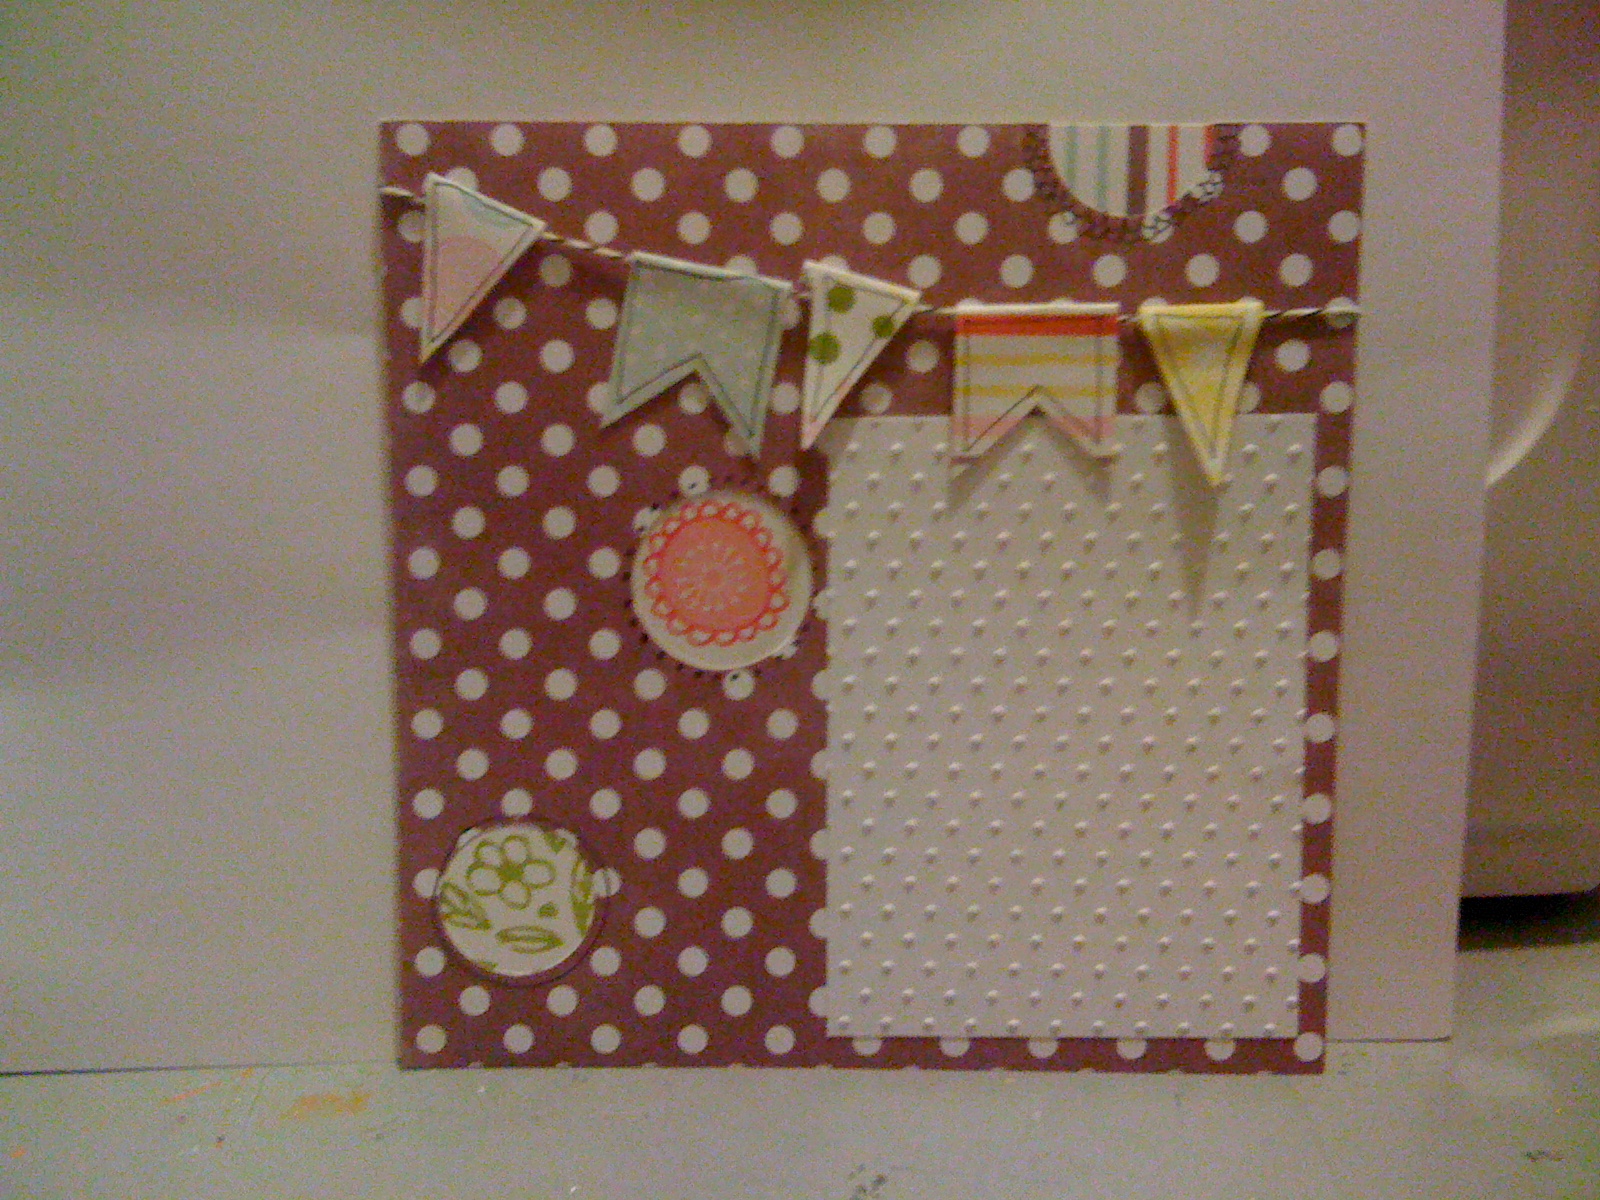
This past weekend I had a fantastic time, hanging out with my Scrappy friends at Scrapfest out in Oshawa.
My friend Rana (a card maker extraordinaire) made this awesome collage in Instagram.
I love seeing all my friends and all the inspiration. Like I've said in the past, the make and takes alone make this totally worth a visit! I also got about 3 layouts done at the crop, which considering I had only one
real day to crop, is not too shabby. When I get a chance I will try an
post those here.
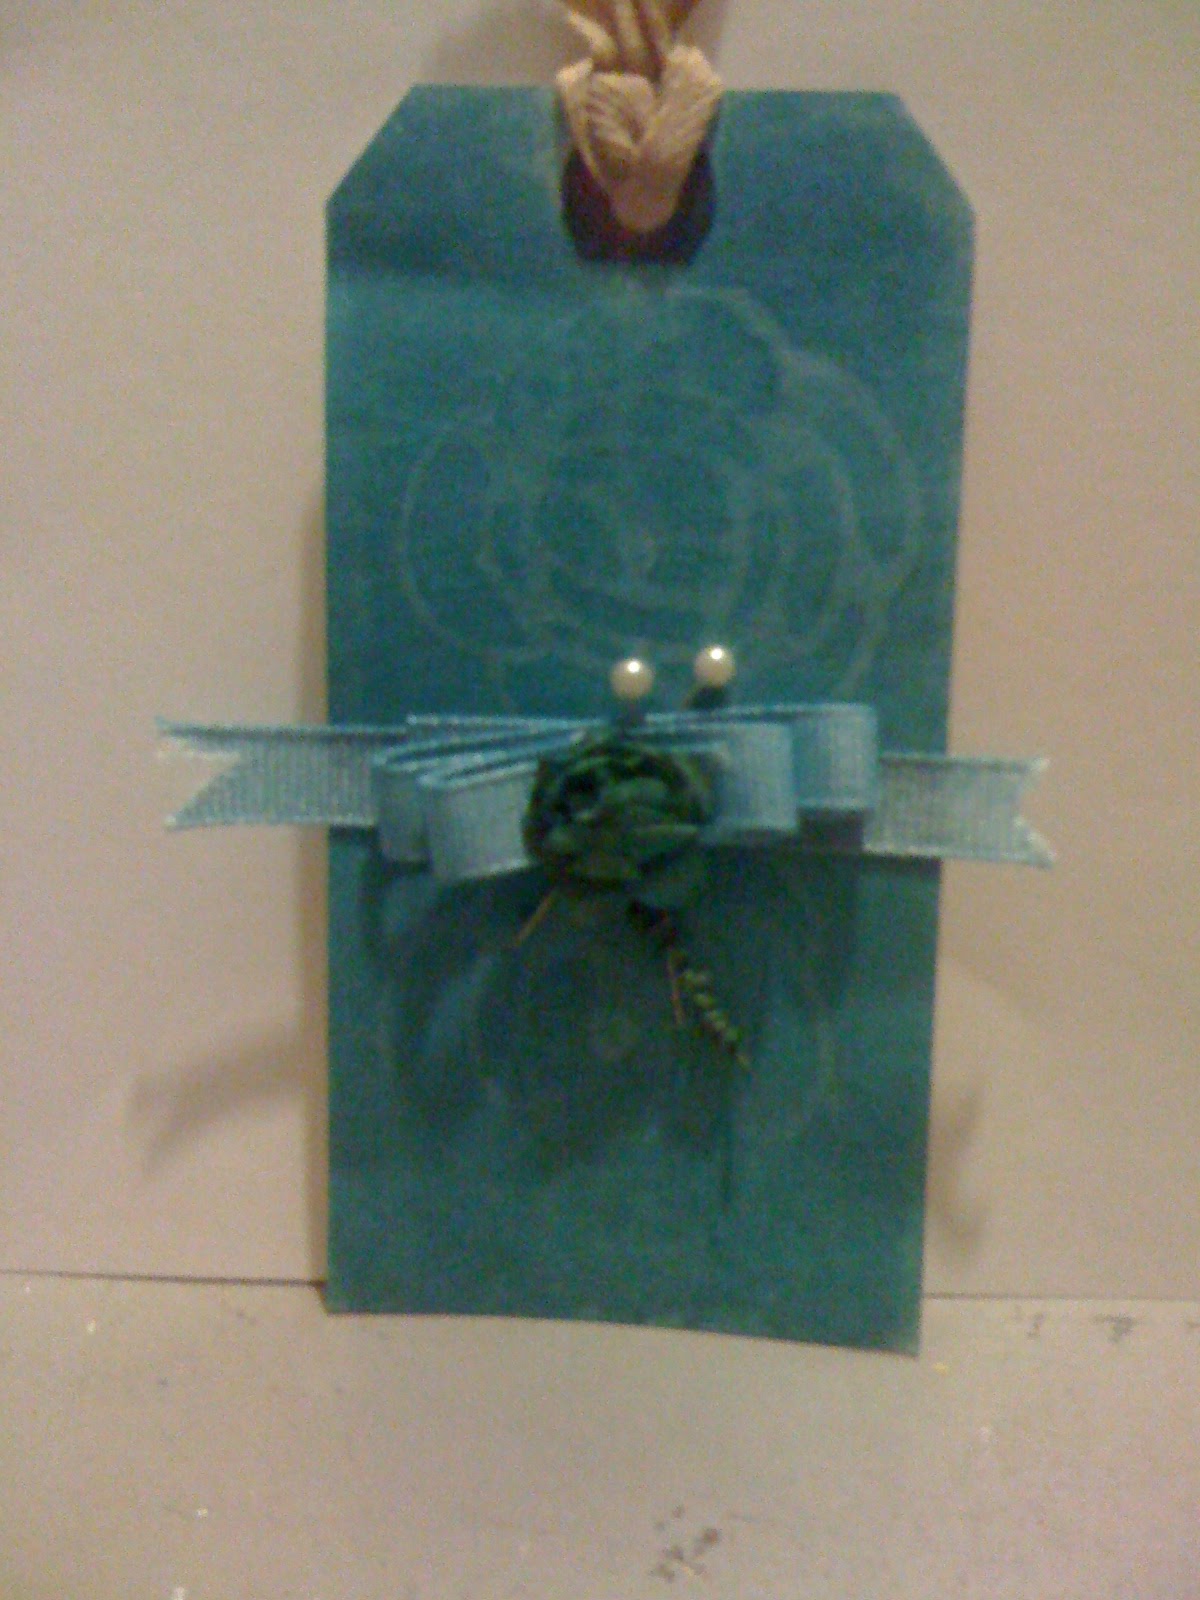
My Friday I spent helping Heidi and Simon out at the Pointer Scrapbooking booth with set up, and later did this make and take in their booth.
I was inspired to use the Collage Glue stick technique that was shown on Ranger's site. Here are the steps, all supples are available from Pointer Scrapbooking.
I made a foam stamp out of Tim Holtz's Flourish die and stamped using the collage stick as my "ink". Dried it with a heat gun, followed by a heavy dose of Barn door distress ink. I then used a baby wipe and pulled off the collage stick mask, dried the tag again, and added a bit more ink. The paper line I used was the new Teresa Collins' christmas line, the bird is the Prima resists canvas and the twine is from Queen & Co.
Thursday, October 18, 2012
Tuesday, September 25, 2012
How to Unclog your Sprays
I openly admit that I have a problem. I'm highly addicted to the spray mists that are out in the market (as can been seen with my "small" collection).
The thing is that these babies get clogged pretty easily. So after some colourful language that has left my mouth, I think I finally figured out what everyone was talking about when they said "just run it under water" to clear the nozzle! Here is a mini tutorial with photos to maybe help some of you that ran into the problems that I had. I will say that in the end, I unclogged all my sprays....Happy Dance!
Remove spray top and run warm water over nozzle hole to get rid of ink. Pump until all ink has cleared the transfer tube.
Pull off top and run warm water through nozzle cap
Also run water through transfer tube from top area, pushing down the "exit tip". Should clear out all the "gunk"
Replace the nozzle cap and start pumping warm water through. If the first run does not work, repeat again. Usually by the second try, it is working fine for me.
The thing is that these babies get clogged pretty easily. So after some colourful language that has left my mouth, I think I finally figured out what everyone was talking about when they said "just run it under water" to clear the nozzle! Here is a mini tutorial with photos to maybe help some of you that ran into the problems that I had. I will say that in the end, I unclogged all my sprays....Happy Dance!
Remove spray top and run warm water over nozzle hole to get rid of ink. Pump until all ink has cleared the transfer tube.
Pull off top and run warm water through nozzle cap
Also run water through transfer tube from top area, pushing down the "exit tip". Should clear out all the "gunk"
Monday, September 17, 2012
ATT Swap
Crazy me, on top of all my other obligations, I decided to join the swap on the All Things Tim group - Christmas Pandemonium canvas. I think this will be loads of fun and inspiration. I was responsible for a 2x3 section and that was actually a challenge for me because I didn't have lots of room for what I originally envisioned. But I did it and here it is!
I covered the grunge board with text paper, inking the edges with distress ink. I then stamped one of Tim Holtz's flourish stamps using archival ink in the corner. The tickets were cut out using Tim's die and stamped followed by a coating of distress Stickles and the "25" highlighted with regular Stickles. The pearls were originally pink and I coated them with white and silver alcohol ink (I think that was my favourite part) . Next the ribbon was inked with spray inks and all attached to the paperclip. I finished all 27 in time and into the mail it goes! Looking forward to all the others coming back! Stayed tuned.
Thursday, August 9, 2012
Getting Inky with Anna Dabrowska
I was so happy to have participated in a Prima Marketing workshop with Anna Dabrowska ,who travelled all the way from Poland, to teach at the Art House Studio in K-W. We spent several hours getting inky and it was tremendous fun. Here are some photos from that fabulous day.
The cover I made, with all the mixed media goodness. So many fantastic layers and ink. Love it!
Nadya and I with our inky goodness. Check out Nadya's blog for her beautiful cover.
The cover I made, with all the mixed media goodness. So many fantastic layers and ink. Love it!
Nadya and I with our inky goodness. Check out Nadya's blog for her beautiful cover.
And my lovely hands afterwards. I took me 2 days with a craft scrubbie to get that stuff off!
This class was so mucih fun. It was interesting to see Anna's process and the ideas we got from just doing that cover alone, was well worth the class. I have 2 pages done for my book which I will post shortly. I plan on using this album as a document of my mom's life but we'll see. It seems to be speaking to me in that way.
Monday, August 6, 2012
I am so fortunate
To be surrounded by loving people. July I reached my milestone birthday and celebrated it first at the crop at Pointer Scrapbooking. Lots of lovely cards from the customers and a great cake to share with everyone.
Thanks to Heidi and all the wonderful customers at Pointer's who kicked off my celebrations.
I was then given a great party from my family. And even though the surprise of the party was up(thanks to some forgetful friends), what was a big surprise was the fact that it was 80's themed. Almost everyone showed up in costume - it was awesome!
Love my family and friends! It has been an awesome birthday!
Thanks to Heidi and all the wonderful customers at Pointer's who kicked off my celebrations.
I was then given a great party from my family. And even though the surprise of the party was up(thanks to some forgetful friends), what was a big surprise was the fact that it was 80's themed. Almost everyone showed up in costume - it was awesome!
Love my family and friends! It has been an awesome birthday!
Thursday, May 10, 2012
Abandoned
Yikes, I have been a terrible blogger. Too much on my plate these days to keep up. I will say though that I have been trying to incorporate crafty things into my week, so I have plenty to share.
First up is this fabulous tag I won from Christine Urias' blog which she got from the amazing Tim Holtz at CHA winter 2012 show. I'm such a happy camper!
More craftiness to share this weekend for sure!

First up is this fabulous tag I won from Christine Urias' blog which she got from the amazing Tim Holtz at CHA winter 2012 show. I'm such a happy camper!
More craftiness to share this weekend for sure!
Monday, February 20, 2012
Tim's new online class
I know I can't stop talking about this guy but I think he is a creative genius and a marketing machine. I can't get enough. So Tim Holtz will be teaching this online class over at Online Card Classes in March and of course I've signed up. (And come on - it's got Chemistry - I have to take it!) I've taken Jennifer McQuire's class previously and it was fantastic. I'm guessing this will be the same calibre and I'm so looking forward to when it starts.
Sunday, February 19, 2012
Seems I'm up to one post a month
I'm a very happy crafter! I was a very lucky commenter on Tim Holtz's blog and won these awesome stamps from his CHA Winter release. Happy dance!
I will try and post some of my most recent work shortly but thought I would do a shout out on my blog cause I'm just a happy crafter now!
Friday, January 27, 2012
Sunday, January 15, 2012
Happy New Year - 2 weeks later
Wow! Happy New Year blog readers! I have no idea how time is escaping me these days but it all seems a blur. I can not believe we are in 2012 already! I have been pretty busy these days and have plenty to share in the next little bit, including some of the tags I did for the 12 tags (I got up to 10). Off to scan and photograph my stuff to share!
Monday, December 5, 2011
Well I did it
I completed 3 tags in a night, as I'm trying to follow along with Tim. They aren't fabulous, but for me it was about trying out the techniques and playing with my stuff! Will likely used these on Christmas cards or on gifts I give away....we'll see - has to be someone who would appreciate it.
Day 3 - loved making my own custom stamp pad
Day 4 - loved playing with stains on this tag and then crackle paint. Some of my favourite mediums!
Day 5 - love the technique for the background, but can never seem to get it "right". Might need to try a stamp that covers more surface. Made "ribbon" out of cheesecloth and coloured it with Distress Ink.
Day 3 - loved making my own custom stamp pad
Day 4 - loved playing with stains on this tag and then crackle paint. Some of my favourite mediums!
Day 5 - love the technique for the background, but can never seem to get it "right". Might need to try a stamp that covers more surface. Made "ribbon" out of cheesecloth and coloured it with Distress Ink.
Day 2 tag - boy am I behind!
So I've been trying to do Tim Holtz's 12 tags of Christmas, but typical in my life, I didn't even have my weekend to do much creating! I got #2 done and have 3 and 4 as works in progress on my table. Hoping to get them done tonight.
Here is my version where I used the regular Kraft resist paper and his scallop edge die. Using his techniques for the background and the sticky back canvas on the wreath.
Saturday, December 3, 2011
Day 1 of 12 Tags
As most of my crafty friends know, I simply can not get enough of this man. That's right, Tim Holtz is doing his 12 tags of Christmas again on his blog and I've decided to play along too.
Believe it or not, I don't own many of Tims dies or embossing folders, so I improvised. I took the Sizzix snowflake embossing folder and did my version of Tim's double embossing, using glitter embossing powder. For the "Joy", I used my Slice FaLaLaLa card and DCWV glittter paper. Since I own the magnetic cutting pad, I put my Slice in position and cut without moving 4 times - 5 might have worked better, since I still had to use the scissors. I used Tim's new Limited Edition distress inks to colour this in added the glitter tape and pearls to the top to finish it up.
And speaking of another man I can get enough of - here's my munchkin man sporting his Movember 'stash.
Believe it or not, I don't own many of Tims dies or embossing folders, so I improvised. I took the Sizzix snowflake embossing folder and did my version of Tim's double embossing, using glitter embossing powder. For the "Joy", I used my Slice FaLaLaLa card and DCWV glittter paper. Since I own the magnetic cutting pad, I put my Slice in position and cut without moving 4 times - 5 might have worked better, since I still had to use the scissors. I used Tim's new Limited Edition distress inks to colour this in added the glitter tape and pearls to the top to finish it up.
And speaking of another man I can get enough of - here's my munchkin man sporting his Movember 'stash.
Thursday, December 1, 2011
Some other creative things to share.
I can not believe it is December already! In the creative front I will be trying to do December Daily and Tims 12 tags again this year. We'll see how it goes!
I'm very excited to share that the online bead magazine Beading Times posted my watch that I had Etsy, as an example of good watch design (thank you so very much - blush!)
Now, waaaaay back in October, Pointer Scrapbooking hosted a day for the Creative Chicks to come and do demos. Below are the make and takes we shared that day and I thought I would post them for inspiration. If Heidi hosts another one of these days, you should definitely come out and play.
Also in October ,at Scrapfest Oshawa I did a couple of Make N' Takes with some of the vendors. So worth the price of admission. Here are a few that I did at those booths.
Here is something I made for my son's teacher who left, because she was only covering a maternity leave of his actual teacher. A cute box made using Little Yellow Bicycle's paper, I used instructions I found on You Tube, which I filled with card making supplies (I'm such an enabler).
Now going even more way back in the summer, I took Christy Tomlinson's She Art class. I've done others that I posted but here the final one from her class of the She-Art canvas' I finally finished. I think the next mixed media canvas I do will be Christmas themed or something like one I saw done by Maya Road. Stay tuned!
I'm very excited to share that the online bead magazine Beading Times posted my watch that I had Etsy, as an example of good watch design (thank you so very much - blush!)
Now, waaaaay back in October, Pointer Scrapbooking hosted a day for the Creative Chicks to come and do demos. Below are the make and takes we shared that day and I thought I would post them for inspiration. If Heidi hosts another one of these days, you should definitely come out and play.
| Nadya's 6x6 layout |
| My tag using a "bleaching" technique and Ranger Stains |
| Jennifer's fussy cutting embellishment |
| Florence's watercolour technique |
| Nicky's card using Ranger Stains |
Also in October ,at Scrapfest Oshawa I did a couple of Make N' Takes with some of the vendors. So worth the price of admission. Here are a few that I did at those booths.
| Cute little notebook holder at Got Scrap booth |
| Mixed Media card at The Art House booth |
Here is something I made for my son's teacher who left, because she was only covering a maternity leave of his actual teacher. A cute box made using Little Yellow Bicycle's paper, I used instructions I found on You Tube, which I filled with card making supplies (I'm such an enabler).
Now going even more way back in the summer, I took Christy Tomlinson's She Art class. I've done others that I posted but here the final one from her class of the She-Art canvas' I finally finished. I think the next mixed media canvas I do will be Christmas themed or something like one I saw done by Maya Road. Stay tuned!
Monday, November 21, 2011
New stamps
I have been lucky to get my hands on some new stamps that are exclusive to Pointer Scrapbooking. Usually I don't work with stamps like this but I think these are pretty darn cute. Disclaimer here - I am not a very good colourer, so please don't be too critical! I used 2 kinds of pencil crayons and mineral spirits to blend on regular white cardstock.
Both of these brands gave me a creamy colour on the paper and blended effortlessly with the mineral spirits.
Here's using the Box Train Express stamp. It reminds me of my son playing with his friend Sarah. I just put it on a backing because I plan on using it on a layout in the near future. Stay tuned!
I'm happier with the colouring on this card using Scooter Fun. I used the Bo Bunny 6x6 Blast Off collection for this card, kraft cardstock and brads. Easy peasy!
Finally for this card I used the Friendship Building stamp. Again the Bo Bunny Blast Off collection and some bakers twine on dark brown cardstock.
I chose the boy images mostly because I have a boy but there are so many other great images. Go check it out!
And if you do end up using some of these stamps. Definitely go and post on Pointer Scrapbooking's Facebook page.
.
Both of these brands gave me a creamy colour on the paper and blended effortlessly with the mineral spirits.
Here's using the Box Train Express stamp. It reminds me of my son playing with his friend Sarah. I just put it on a backing because I plan on using it on a layout in the near future. Stay tuned!
I'm happier with the colouring on this card using Scooter Fun. I used the Bo Bunny 6x6 Blast Off collection for this card, kraft cardstock and brads. Easy peasy!
Finally for this card I used the Friendship Building stamp. Again the Bo Bunny Blast Off collection and some bakers twine on dark brown cardstock.
I chose the boy images mostly because I have a boy but there are so many other great images. Go check it out!
And if you do end up using some of these stamps. Definitely go and post on Pointer Scrapbooking's Facebook page.
.
Subscribe to:
Posts (Atom)