Been meaning to all week but my iPhone was not co-operating with me. All is Zen now with me and my phone.
Wanted to first share this found great idea online which is a fabulous idea. Go check it out.
Here is what DH got me for V-day. He knows me so well - jelly beans are the key to my heart!
I made this mini-book based on Tim Holtz's idea that he posted on his blog. I've made this book in the past but I love the idea of using the tissue tape to seal the edges. I made this one for DH for v-day and filled it with the 10 Things I loved about him.
And in the spirit of V-day - I love all the colourful flowers in all the shops around (right next to the no name tuna!)
Sunday, February 20, 2011
Sunday, February 13, 2011
2 in one day?
Yup here is my second posting for technically today. I will say though that the last one was really early into the day, so for me it was yesterday.
Here are some cards I made recently to share with you bloggers.
A couple of male birthday cards. I find making male cards hard sometimes. The key is to keep it pretty simple. I tried. Both cards are using the Piggy tales paper and embellies. I then used the Making Memories letters to put the sentiment on.
Valentines day is the time when I can give my boys some frilly things (in my head anyways). Here is one for DH. It's a tag I did awhile back revisited. I inked it with Brick Red Distress Ink, covered in Red Stickles. I then found this creative kit from Dollarama of all places, that had the handmade paper, skeleton leaves and burlap in it.
Here is one for DS who is 3. It's a 3-D heart made out of doillies. Got the idea from Heidi Swapp's Ustream video she was doing
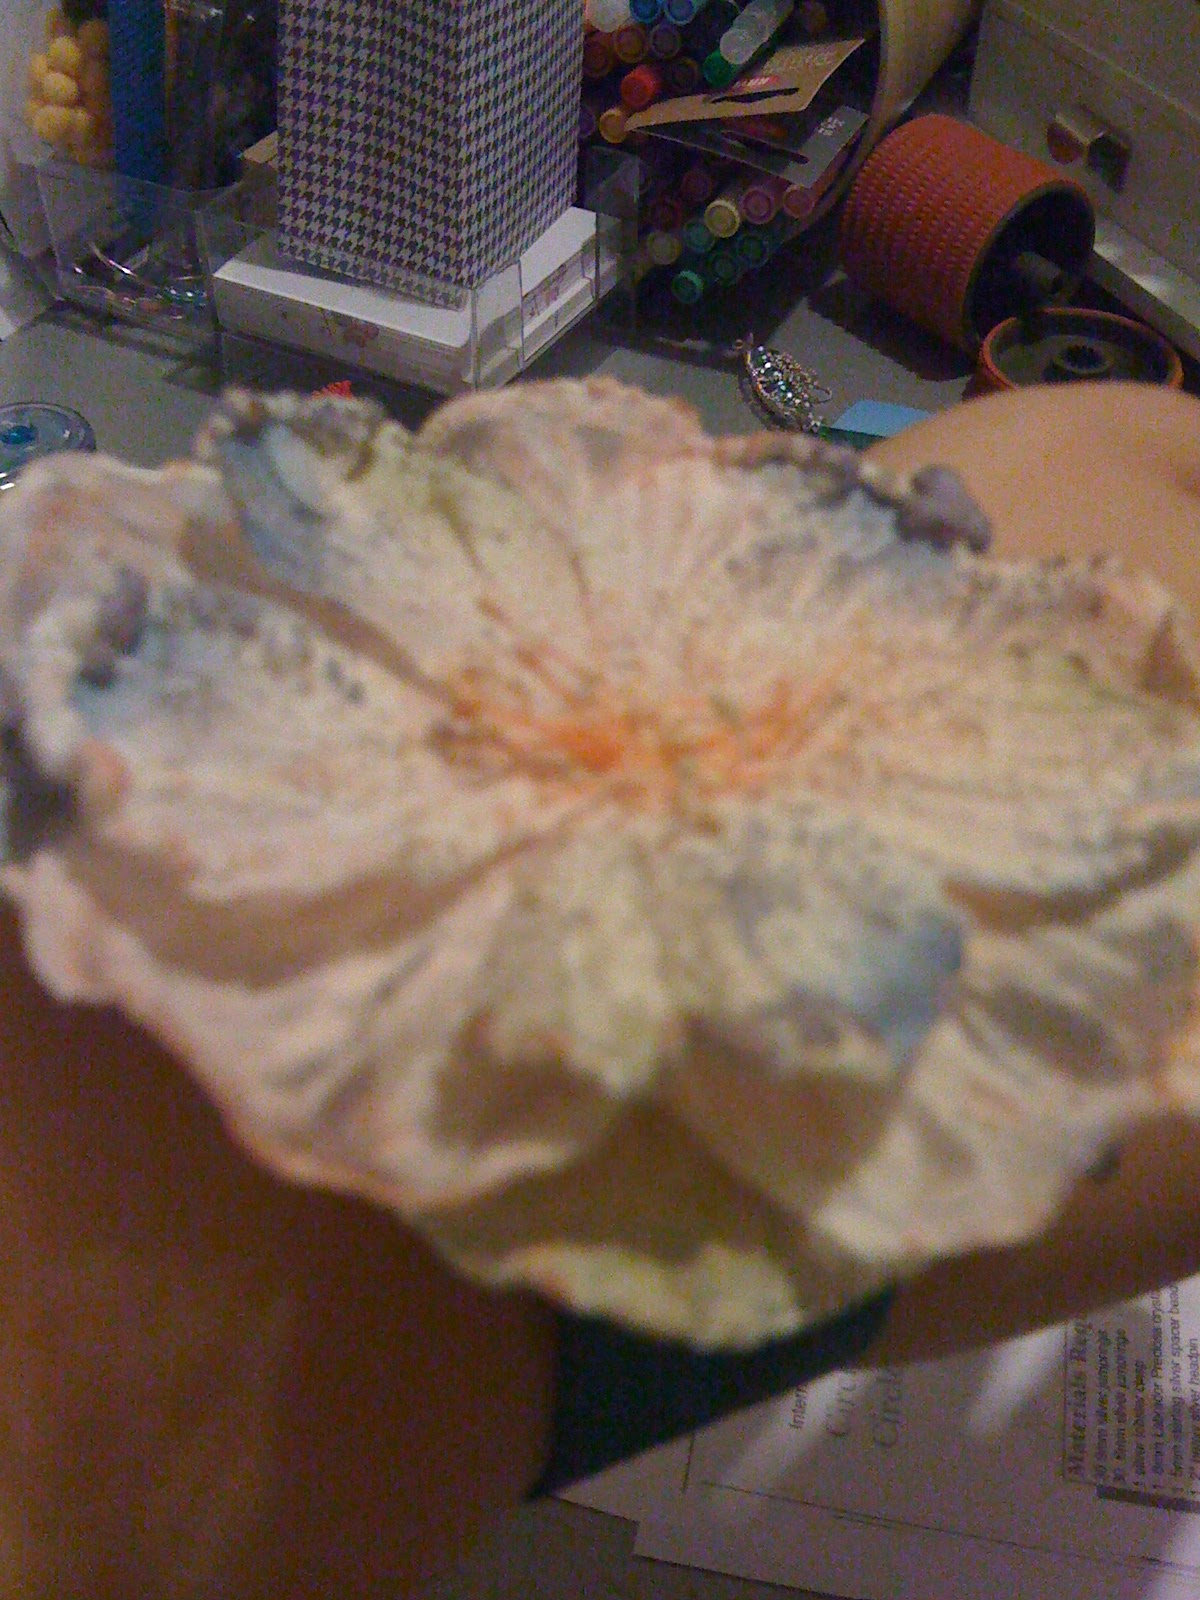
Finally, here is a fun and quick project I did using Tim Holtz's grunngeboard. Don't remember who posted the instructions first (might have been Tim?), but here is mine. Basically you make a bracelet with grungeboard, paint it with whatever medium you want ( I used black paint for the base and top coat of Luminere paint and then sanded the embossing to release some of the black). I added a Prima flower for my focal point and since I don't own any hitch fasteners, I used velcro for my closure.
Here are some cards I made recently to share with you bloggers.
A couple of male birthday cards. I find making male cards hard sometimes. The key is to keep it pretty simple. I tried. Both cards are using the Piggy tales paper and embellies. I then used the Making Memories letters to put the sentiment on.
Valentines day is the time when I can give my boys some frilly things (in my head anyways). Here is one for DH. It's a tag I did awhile back revisited. I inked it with Brick Red Distress Ink, covered in Red Stickles. I then found this creative kit from Dollarama of all places, that had the handmade paper, skeleton leaves and burlap in it.
Here is one for DS who is 3. It's a 3-D heart made out of doillies. Got the idea from Heidi Swapp's Ustream video she was doing
Finally, here is a fun and quick project I did using Tim Holtz's grunngeboard. Don't remember who posted the instructions first (might have been Tim?), but here is mine. Basically you make a bracelet with grungeboard, paint it with whatever medium you want ( I used black paint for the base and top coat of Luminere paint and then sanded the embossing to release some of the black). I added a Prima flower for my focal point and since I don't own any hitch fasteners, I used velcro for my closure.
iCheated
So a couple of weeks ago I went on a weekend retreat to scrapbook with my GG pals. I find that when I attend these things, I barely get anything done but I do love the social aspect of it all. Anyhow, after years of going to these things, I think I have my act together. I brought with me only kits from classes past - no thinking and I feel like I got something done. So all of the LO's I did that weekend were designed by others - that's where I feel like I cheated. I did jazz them up if I felt like it, and if scrapping partner in crime thought I should add something, I usually took her advice. I find using kits sometimes gets me out the scrapping rut too, and I usually am opened up to ideas for future pages.
Anyhow, here is my line up from that weekend.
Here's a kit from NinaBrook Designs called Summer Days. I usually love their kits and this one is no exception. I didn't change much except the journaling block and adding my own photos.
Anyhow, here is my line up from that weekend.
Here's a kit from NinaBrook Designs called Summer Days. I usually love their kits and this one is no exception. I didn't change much except the journaling block and adding my own photos.
Here is a kit from Gela-tins that I did many years ago at the Crop for Kids. I was fortunate enough to have a chipboard star from Chatterbox that fit in the patterned paper star on the left side. Crazy that the colour and everything went! I also used Rangers Glossy Accents on the title. And Rangers Stickles to highlight all the stars.
This was a class I took at CKC-Buffalo last year with Piggy Tales. Though the class was hugely disappointing, I did like this LO for it's elements. In this layout, I used a title of my own choosing, so the letters they gave us didn't have enough "h's", so I made one using a "n" and a "l" chopped, and at the junction I used some thread to hide it. Also added letters from making memories to complete the title.Very happy with the end result!
Here is another LO from that same class. It was intended to be used for baby boy photos but the genius of Diana thought it would go nicely with these photos. I had struggled with the photos because all the winter paper I had brought with me, didn't go. I would have never have thought to use this paper for a winter layout, and yet I think it works. Anyways, I added the title letters and button strip from Echo Park, the felt ribbon from Queen& Co., journaling block stamp from Autumn Leaves, buttons are an assortment from my stash.
Here is a layout I lifted from a CM catalougue. Well the round part and the paper used were from CM. I changed the title placement, added it to a 12x12 cardstock background, added in the clear sticker mounted on patterned paper and made the title using Quickkutz' License plate font and die with a topping of Ranger's Glossy Accents. I added the brads and hammered them with Tim Holtz' textured hammer (love that thing!)
This one here is a Technique Tuesday class. I love using these Technique Tiles and stamping and inking away. I changed the placement and size of the orange "ribbon" but overall I kept to the class outline. I'm not such a rebel.Friday, February 4, 2011
Still Recovering
Last weekend I went away to a scrapbooking retreat with fellow Girl Guide leaders at a GG camp. It was good fun but all week I have been operating on a deficit of sleep! The theme was of course winter and silly me was too busy scrapbooking to actually take photos (which I deeply regret today). Anyhow, here is an example of the fun food we were given that weekend. I'm in love with them!
I will have to post my layouts I did later this weekend. Promise!
Also this week, us crazy beaders at work got together. Here was one of the recent projects we did using wire and pearl beads. The theme was pea pods, so we tried two methods. Both are my prototypes, but I'm like the more organic free-form one (one with just silver wire). So I'm thinking of making a few more.
I will have to post my layouts I did later this weekend. Promise!
Also this week, us crazy beaders at work got together. Here was one of the recent projects we did using wire and pearl beads. The theme was pea pods, so we tried two methods. Both are my prototypes, but I'm like the more organic free-form one (one with just silver wire). So I'm thinking of making a few more.
This past Thursday is also the beginning of the Lunar New Year. I love this time of year simply for all the festive decor at Asian markets and for all the fabulous food my family makes. Gung Hay Fat Choi, Sun Nin Fi Look (Prosperity and Happy New Year!)
Tuesday, February 1, 2011
We've got a winner!!!!
Thanks everyone for playing along. I was truly surprised by the numbers that showed up. Thanks again everyone. So without delay our winner is:
mommaidwf
Please send me an email with your snail mail addy and I will get your package out to you as soon as this snowstorm that is suppose to appear, clears out!
Tuesday, January 25, 2011
Some Blog Candy
With Valentine's Day around the corner, I thought I would spread some love. Here is some blog candy for someone to win. How do you win? Well you have 3 chances.
1. Follow my blog on the right here (one entry)
2. Post a comment here (one entry)
3. Post on your blog and tell me about it as a comment below (one entry)
I'll pick a winner by February 1st!
1. Follow my blog on the right here (one entry)
2. Post a comment here (one entry)
3. Post on your blog and tell me about it as a comment below (one entry)
I'll pick a winner by February 1st!
Sunday, January 23, 2011
A couple of cards I made this weekend. The first one is for Cropchocolate's February challenge of creating a valentine inspired project. So far I came up with this card which uses plenty of items I bought from CC.
Here are the instructions, since I had to write it out for Crop Choclate anyways.
1:Using the Friend textured plates and cardstock, I embossed the surface using my Cuttlebug.(Sandwich for cuttlebug is: A plate, textured plate, cardstock, rubber mat, B plate and for my cuttlebug 2 cardboard shims worked).
2:I then inked the surface with Tim Holtz's Velvet distress ink, to make the embossing pop. I then cut down the embossed cardstock to fit a card front.
3:Using my Slice Tags card, I cut out a large heart with flower in the centre of the Fancy Pants Crush paper called Head Over Heals
4: Using the Slice Tag Maker, I put the cut out heart in the metal rim.
5:Using my Cuttlebug again, Tim Holtz's Fancy Flourish die and DCWV glitter paper, I cut out the flourishes. Keeping the smaller one for this project. I also snipped one end of the small flourish, so that I could separate it on the card.
6:Used pop dots on the heart tag and used the Green glue to glue down the flourish.
7: Using a black pen I outlined the centre flower and put a large bling in the centre. I then glued everything to a card back.
Had some leftover's from the above card, so decided to make another for CropChocolate challenge.
1.Fancy Pants Delightful paper for background.
2. Using Making Memories Packing tape I made a ruffled "ribbon"
3. From the Tim Holtz Fanciful Flourish die cut out of glitter paper, I cut the larger one down for this card and glued down with Green glue
4. Using the tag from the Slice Tag card, cut out of Core'dinations cardstock tag.
5. Punched out a heart from scrap of Fancy Pants Delightful paper and adhered to tag.
6. Attached tag and put ruffled ribbon at top. Added Fancy Pants pins, Sandylion sticker to tag. Used pen to add "stitching".
Up next is a card I made for a friend who just had a little girl. I'm hoping she doesn't read my blog but if she does, then she gets a sneak peak at what I'm sending her way!
PP: Basic Grey, Stamp: Melissa Frances, Glitter Glue: Ranger Ink, Ribbon and ric rack:?
More cards and such to come later this week.
Here are the instructions, since I had to write it out for Crop Choclate anyways.
1:Using the Friend textured plates and cardstock, I embossed the surface using my Cuttlebug.(Sandwich for cuttlebug is: A plate, textured plate, cardstock, rubber mat, B plate and for my cuttlebug 2 cardboard shims worked).
2:I then inked the surface with Tim Holtz's Velvet distress ink, to make the embossing pop. I then cut down the embossed cardstock to fit a card front.
3:Using my Slice Tags card, I cut out a large heart with flower in the centre of the Fancy Pants Crush paper called Head Over Heals
4: Using the Slice Tag Maker, I put the cut out heart in the metal rim.
5:Using my Cuttlebug again, Tim Holtz's Fancy Flourish die and DCWV glitter paper, I cut out the flourishes. Keeping the smaller one for this project. I also snipped one end of the small flourish, so that I could separate it on the card.
6:Used pop dots on the heart tag and used the Green glue to glue down the flourish.
7: Using a black pen I outlined the centre flower and put a large bling in the centre. I then glued everything to a card back.
Had some leftover's from the above card, so decided to make another for CropChocolate challenge.
1.Fancy Pants Delightful paper for background.
2. Using Making Memories Packing tape I made a ruffled "ribbon"
3. From the Tim Holtz Fanciful Flourish die cut out of glitter paper, I cut the larger one down for this card and glued down with Green glue
4. Using the tag from the Slice Tag card, cut out of Core'dinations cardstock tag.
5. Punched out a heart from scrap of Fancy Pants Delightful paper and adhered to tag.
6. Attached tag and put ruffled ribbon at top. Added Fancy Pants pins, Sandylion sticker to tag. Used pen to add "stitching".
Up next is a card I made for a friend who just had a little girl. I'm hoping she doesn't read my blog but if she does, then she gets a sneak peak at what I'm sending her way!
PP: Basic Grey, Stamp: Melissa Frances, Glitter Glue: Ranger Ink, Ribbon and ric rack:?
More cards and such to come later this week.
Saturday, January 22, 2011
Giveaway from Core'dinations Cardstock - Yummm!
Click on the link above for your chance to win this prize pack!!!
Friday, January 21, 2011
Some Scrappy Stuff to Share
Just finished as much as I could in the challenge realm on Scrapbook Star's forums for the online crop they were having. This definitely got me back in the scrapbooking mood.
Here is my layout using a food embellishment. I decided to scrap my Chinese New Year photos from last year.
I used a pair of take out chopsticks as my embellishment on my title "Gung Hay Fat Choy - Year of the Tiger". The pattered paper I used was from DCWV Asian pack, boarder punch from Martha Stewart, chipboard from Maya Road (which was all coloured with homemade glimmer mist using Tim Holtz re-inkers and Perfect Pearls), journaling circle from Jenni Bowlin. I then used my label maker to add titles to the photos.
Up next was the non-traditional scrapbook page. I normally scrap 12x12 but have done a couple of 8.5x11 in the past. Here is this one that I came up with.
Used some really old Autumn Leaves paper by Rhonna Farrer, Autumn Leaves stamp, Queen & Co. filmstrip felt, American Crafts thickers, Making Memories letter stickers.
This is the layout using my favourite photo from 2010. Took this one with my iPhone but I just loved the look on his face.
Patterned paper is by Pebbles, felt ribbon is Queen & Co., rubons were used because there was a discussion on Scrapbook Star about them and I thought I would bust them out (Art Warehouse and Fancy Pants), stamps are We R Memory Keepers and Inque Boutique, chipboard heart by Maya Road, mists used from Tattered Angels and homemade one using Tim's Fire Brick re-inker and gold perfect pearls.
Finally the card challenge using old supplies. I dug through my scrap stash and found some ancient Basic Grey paper and I believe Fancy Pants. I then inked a Technique Tuesday oval tile and stamped the Stamping Bella monster stamp on paper. Finally I highlighted some details with Ranger Stickles.
So there you go what kept me busy this week!
Here is my layout using a food embellishment. I decided to scrap my Chinese New Year photos from last year.
I used a pair of take out chopsticks as my embellishment on my title "Gung Hay Fat Choy - Year of the Tiger". The pattered paper I used was from DCWV Asian pack, boarder punch from Martha Stewart, chipboard from Maya Road (which was all coloured with homemade glimmer mist using Tim Holtz re-inkers and Perfect Pearls), journaling circle from Jenni Bowlin. I then used my label maker to add titles to the photos.
Up next was the non-traditional scrapbook page. I normally scrap 12x12 but have done a couple of 8.5x11 in the past. Here is this one that I came up with.
Used some really old Autumn Leaves paper by Rhonna Farrer, Autumn Leaves stamp, Queen & Co. filmstrip felt, American Crafts thickers, Making Memories letter stickers.
This is the layout using my favourite photo from 2010. Took this one with my iPhone but I just loved the look on his face.
Patterned paper is by Pebbles, felt ribbon is Queen & Co., rubons were used because there was a discussion on Scrapbook Star about them and I thought I would bust them out (Art Warehouse and Fancy Pants), stamps are We R Memory Keepers and Inque Boutique, chipboard heart by Maya Road, mists used from Tattered Angels and homemade one using Tim's Fire Brick re-inker and gold perfect pearls.
Finally the card challenge using old supplies. I dug through my scrap stash and found some ancient Basic Grey paper and I believe Fancy Pants. I then inked a Technique Tuesday oval tile and stamped the Stamping Bella monster stamp on paper. Finally I highlighted some details with Ranger Stickles.
So there you go what kept me busy this week!
Sunday, January 16, 2011
So I thought I would let everyone know that Scrapbook Star is having an online crop going on this weekend. It is always lots of fun with prizes for each challenge. The best part this year is that the challenges go for a week. So everyone still has time to go check out the forums and participate.
Also happening is the sale over at Scrapbook Crop Shop. She's having an inventory sale, so go and check out the bargains to be had (hint: click more than the Sale category).
A class I am teaching over at Pointers Scrapbooking Store in Markham in February. Here's a peak of the mini-album.
I don't remember whose blog I saw mention of this book below, but she used it display her Christmas cards and I thought what a great idea. I found this beautiful spiral bound book at the dollar store of all places. The artwork was just gorgeous to me.
So what I'm going to do with mine is to display all the handmade cards, tags and ATC's I get. It's my book of inspiration that I can display on my table, simply by opening the book. Well as it stands now, it doesn't close anymore because of the yumminess inside.
Also happening is the sale over at Scrapbook Crop Shop. She's having an inventory sale, so go and check out the bargains to be had (hint: click more than the Sale category).
A class I am teaching over at Pointers Scrapbooking Store in Markham in February. Here's a peak of the mini-album.
I don't remember whose blog I saw mention of this book below, but she used it display her Christmas cards and I thought what a great idea. I found this beautiful spiral bound book at the dollar store of all places. The artwork was just gorgeous to me.
So what I'm going to do with mine is to display all the handmade cards, tags and ATC's I get. It's my book of inspiration that I can display on my table, simply by opening the book. Well as it stands now, it doesn't close anymore because of the yumminess inside.
Wednesday, January 12, 2011
This crafty week
I've caught something pretty crappy, both DH and I are suffering from either food poisoning or some sort of stomach flu, either way, not feeling good at all.
However, I did over this past weekend though, do some creative things. Over at Cropchocolate.com, some of the ladies are doing a Valentine inspired ATC swap - so I joined. Here are my 6
Next here is a LO I made for a Pointers Scrapbooking store, it's a class I'll be teaching on using canvas products.
Using canvas as my background, ribbon and for title.
Stamps: handmade foam stamp from Tim Holtz flourish die, Hampton Arts, Maya Road and Creative Keepsakes
Ink: Ranger Archival ink, Tattered Angels Glimmer mist.
House: maya road
flowers:?
While I was visiting the store the other day, I came upon this pattered paper from Jillibean Soup. You don't know how happy this geeky-crafty- girl got. I had no idea that there was "science" paper out there as I was thinking about scrapping about my work!
However, I did over this past weekend though, do some creative things. Over at Cropchocolate.com, some of the ladies are doing a Valentine inspired ATC swap - so I joined. Here are my 6
Next here is a LO I made for a Pointers Scrapbooking store, it's a class I'll be teaching on using canvas products.
Using canvas as my background, ribbon and for title.
Stamps: handmade foam stamp from Tim Holtz flourish die, Hampton Arts, Maya Road and Creative Keepsakes
Ink: Ranger Archival ink, Tattered Angels Glimmer mist.
House: maya road
flowers:?
While I was visiting the store the other day, I came upon this pattered paper from Jillibean Soup. You don't know how happy this geeky-crafty- girl got. I had no idea that there was "science" paper out there as I was thinking about scrapping about my work!
Wednesday, January 5, 2011
Dear Prima
You make beautiful things and I love almost everything you make. So I ask what happened here???
I'm sure to someone out there, this is pretty but for me it hurts my creative juices. I received this baby in a grab bag of scrappy stuff, so I really shouldn't complain but I was shocked when I pulled it out. Anyone of you readers have a suggestion on how to use this? Maybe I will RAK it to someone, would you like it? Leave me a comment and may come to your home soon!
I need some creative mojo, so my best bet is always pulling out kits. Here is a banner kit from Maya Road that I will decorate my soon-to-be-organized-one-day craft room. Love playing with Maya mists!
Next up is a canvas I did for the LSS I help out at. She wanted something to showcase what to do with products. I pulled from some previous tags I did and made some new ones also. I was inspired by Tim Holtz' and Jennifer McQuire's canvas' they did last year. I might add some mists on the edge afterwards cause it's looking a bit plain to me at the moment.
You make beautiful things and I love almost everything you make. So I ask what happened here???
I'm sure to someone out there, this is pretty but for me it hurts my creative juices. I received this baby in a grab bag of scrappy stuff, so I really shouldn't complain but I was shocked when I pulled it out. Anyone of you readers have a suggestion on how to use this? Maybe I will RAK it to someone, would you like it? Leave me a comment and may come to your home soon!
I need some creative mojo, so my best bet is always pulling out kits. Here is a banner kit from Maya Road that I will decorate my soon-to-be-organized-one-day craft room. Love playing with Maya mists!
Next up is a canvas I did for the LSS I help out at. She wanted something to showcase what to do with products. I pulled from some previous tags I did and made some new ones also. I was inspired by Tim Holtz' and Jennifer McQuire's canvas' they did last year. I might add some mists on the edge afterwards cause it's looking a bit plain to me at the moment.
Sunday, January 2, 2011
My new toys
For Christmas Hubby got me a set of these lens for Christmas for my beloved iPhone. I love gadgets and this was right up my alley. This store has some awesome toys for the photo affectionado, and if I had the moolah, I would definitely be buying up some of these toys. Anyhow, in the package came a plastic toy dinosaur, how cute and perfect for trying out my lens!
Here is Mr. Dino (no, I'm not as creative as my son with naming things) using the lens on my iPhone 3G
Here is with the fisheye lens
And here it is with the wideangle lens
And finally with the macro lens
My only criticism so far is that for the fisheye and the wide angle, I get the bottom ring of the lens showing up. I'm going to play with centering the lens better and maybe that will be eliminated. Overall it has been fun to play with these. I use my iPhone as my second camera when I don't have my better one with me and love the thing a lot!
Here is Mr. Dino (no, I'm not as creative as my son with naming things) using the lens on my iPhone 3G
Here is with the fisheye lens
And here it is with the wideangle lens
And finally with the macro lens
My only criticism so far is that for the fisheye and the wide angle, I get the bottom ring of the lens showing up. I'm going to play with centering the lens better and maybe that will be eliminated. Overall it has been fun to play with these. I use my iPhone as my second camera when I don't have my better one with me and love the thing a lot!
Subscribe to:
Posts (Atom)